Supporting
A pantry label maker you will actually use
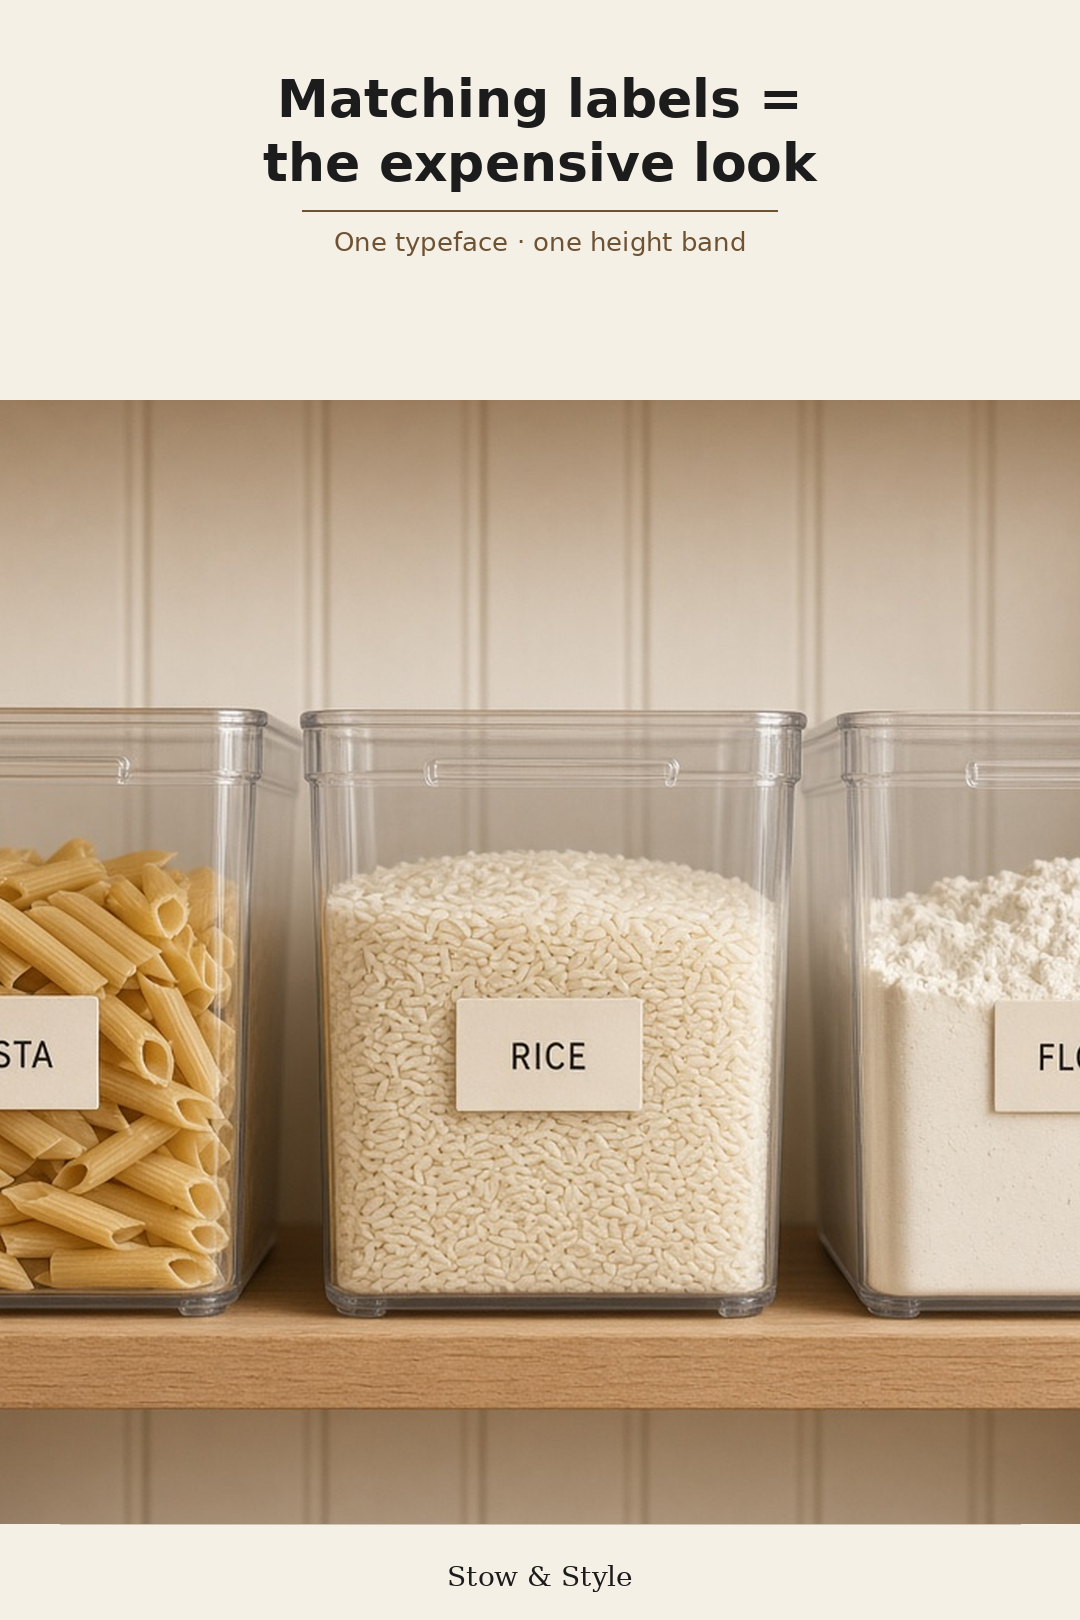
Labels are how a set of clear bins starts to look intentional. They are also how a pantry starts to look like a craft project if you mix fonts, colors, and a vinyl cutter you will not set up on a Tuesday.
A handheld label maker, used with one typeface and one tape color, is enough. Many apartments do not need even that. This post is about when to buy one, which type, and when a marker is the adult choice.
The problem
Unlabeled bins get opened in the wrong order. Everyone in the household hunts. Then you print 40 labels in a script font and a second color “for snacks,” and the cabinet looks busy again.
The other problem is commitment. A label that says “LENTILS” on a bin you now use for snacks is worse than no label. Paper tape you can peel is kinder than engraved plates.
How to measure (yes, even here)
- Bin front height. The label should sit in one band—e.g. 1 inch from the top rim—on every bin. Measure that band so you do not buy 18 mm tape for a 12 mm lip.
- How many labels, honestly. Count doors and bins you will label this weekend, not a fantasy of the spice archive. A 30-label weekend is a $20 tape budget, not a $90 machine.
- Where labels live. Plastic bins, painted wood, metal racks, glass. Some tapes hate cold (garage) or steam (under-sink). A pantry is easy; a dishwasher-adjacent bin may not be.
- Hands. If the only person who will use the machine hates tiny buttons, you will not relabel when the lentils move.
Renter-safe: labels on your bins and jars, not on the landlord’s cabinet faces. Peeling vinyl off painted doors is how you own a paint repair. If you must mark a shelf, use removable tape on a liner, not on the particle board.
Product types
1. Handheld label maker, one tape width
The P-touch-class idea: keyboard or a few buttons, 12 mm tape, black on white or black on clear.
Use if: You have six-plus bins or jars that change contents, more than one person grabbing food, and you will reprint when something moves.
Skip if: You have three bins. A marker on painter’s tape is quieter and free. Skip also if you wanted computer-designed vinyl in five colors—that is a cutter, a learning curve, and a different budget.
2. Extra tape, same color only
Buy the tape the machine needs, in the finish you already chose. White or clear.
Use if: You bought the machine.
Skip if: You are stocking gold, red, and patterned cassettes “for seasons.” That is how the expensive look dies.
3. Removable paper labels or painter’s tape
Removable pantry labels / washi-adjacent plain tape
Use if: Contents rotate (snacks, bulk bags) or you are not ready to own a machine.
Skip if: Steam and grease will curl paper in a week (under-sink cleaner bottles). Those want a plastic bin, not a paper flag.
4. Pre-printed minimal pantry labels (small set)
Pre-printed label set, black type on white or clear
Use if: Your inventory is boring and stable (flour, sugar, rice, oats) and you refuse to own another gadget.
Skip if: The set includes 80 words you do not stock (farro, millet, three kinds of sugar). Leftover stickers become clutter. Do not buy a set for a mansion pantry you do not have.
How to make labels look expensive
- One typeface. The default sans on the cheap machine is fine. No script.
- One tape color in a zone.
- Same height on every bin.
- Short words: SNACKS, RICE, TEA. Not “Chris’s healthy snacks (please ask).”
- Relabel; do not cross out.
Honest skip
If you live alone and can see through the bins, you may not need labels at all. Clear bins plus a quiet row already read as finished. A machine you use twice is e-waste in a drawer.
Under $50 should cover a basic maker and a spare tape. If the only models that appeal are app-connected printers with branded tape at a premium, wait until you have actually outgrown painter’s tape.
Returns: tape that will not stick to PE bins is a known mismatch—test one label before you print twenty. Do not put labels on the landlord’s walnut-look doors and assume “removable” means “invisible in August.”